
")
")
")
")
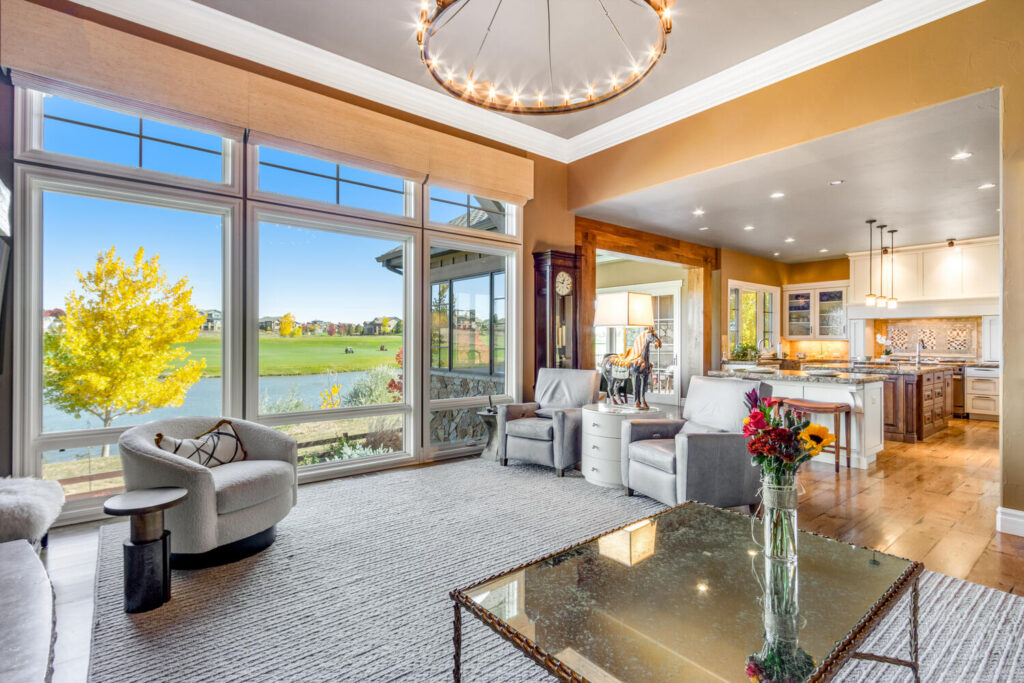
Photographing interior spaces has been a long-time challenge for many photographers. Even if the inside of a property is relatively bright, a substantial difference between the natural lighting outside and the interior lighting conditions could still exist. This conundrum raises a lot of questions. Should I take a short exposure to showcase the views outside? If I use a huge flash to create extremely bright interior conditions, how do I avoid harsh artificial shadows? How could I possibly correct this lighting in-balance in a reasonable amount of time? It is surely a difficult problem to solve. In this article we will share a few solutions that we have found over the years!
The first thing you can do is make sure that your camera settings are generally optimized for indoor photography. Be sure that you have a steady tripod, and that your shutter is on a delay. An easy way to introduce potential motion blur to your photos is by touching the camera as you are taking your photo. Definitely avoid this. Keep your ISO at 100. I higher ISO can help you shoot with quicker exposures, but since you’ll be shooting on a tripod, this is not an issue. Adjusting your white balance for each scene is a great way to keep your photos neutral and your white objects white. If the interior space has lots of natural lighting, your white balance may be between 4000-5000 Kelvin. If your relying on mostly indoor lighting, it may be lower, between 3000-4000 Kelvin. If you are comfortable shooting in manual mode, you’ll want to keep your aperture at F10 or above. It’s tempting to shoot with a wide aperture for quicker exposures, but again, since you’re using a tripod, a slower shutter speed is ok. A wide, or large aperture can result on a thin depth of field, and introduce softer focus around the outside of your composition.
Using the settings above, your biggest remaining variable will be your shutter speed. First of all, a great tool to gauge the amount of light in an interior space is your light meter. It’s important to make sure your light meter is set to a mode where it averages the available light throughout the composition (Evaluative Mode in Canon cameras, Matrix Mode in Nikon). Alternatively, if the light meter is set to spot metering, it can give a false measurement. Especially if the specific spot is measuring direct sunlight or dark shadows. that is the reason for an average reading of the scene. Once you have measured how much light is available, choose the shutter speed that your camera recommends. You may want to take a few test shots, and manually over or under-expose your final photo based on how it looks in your camera, compared to what you are seeing with your naked eye. Your camera can make great recommendations, but it won’t be perfect. You’ll always want to visually check your photos to ensure the best results. Again, especially in low light situations, a slow shutter speed is ok. Since your camera is stabilized, take all the time you need!
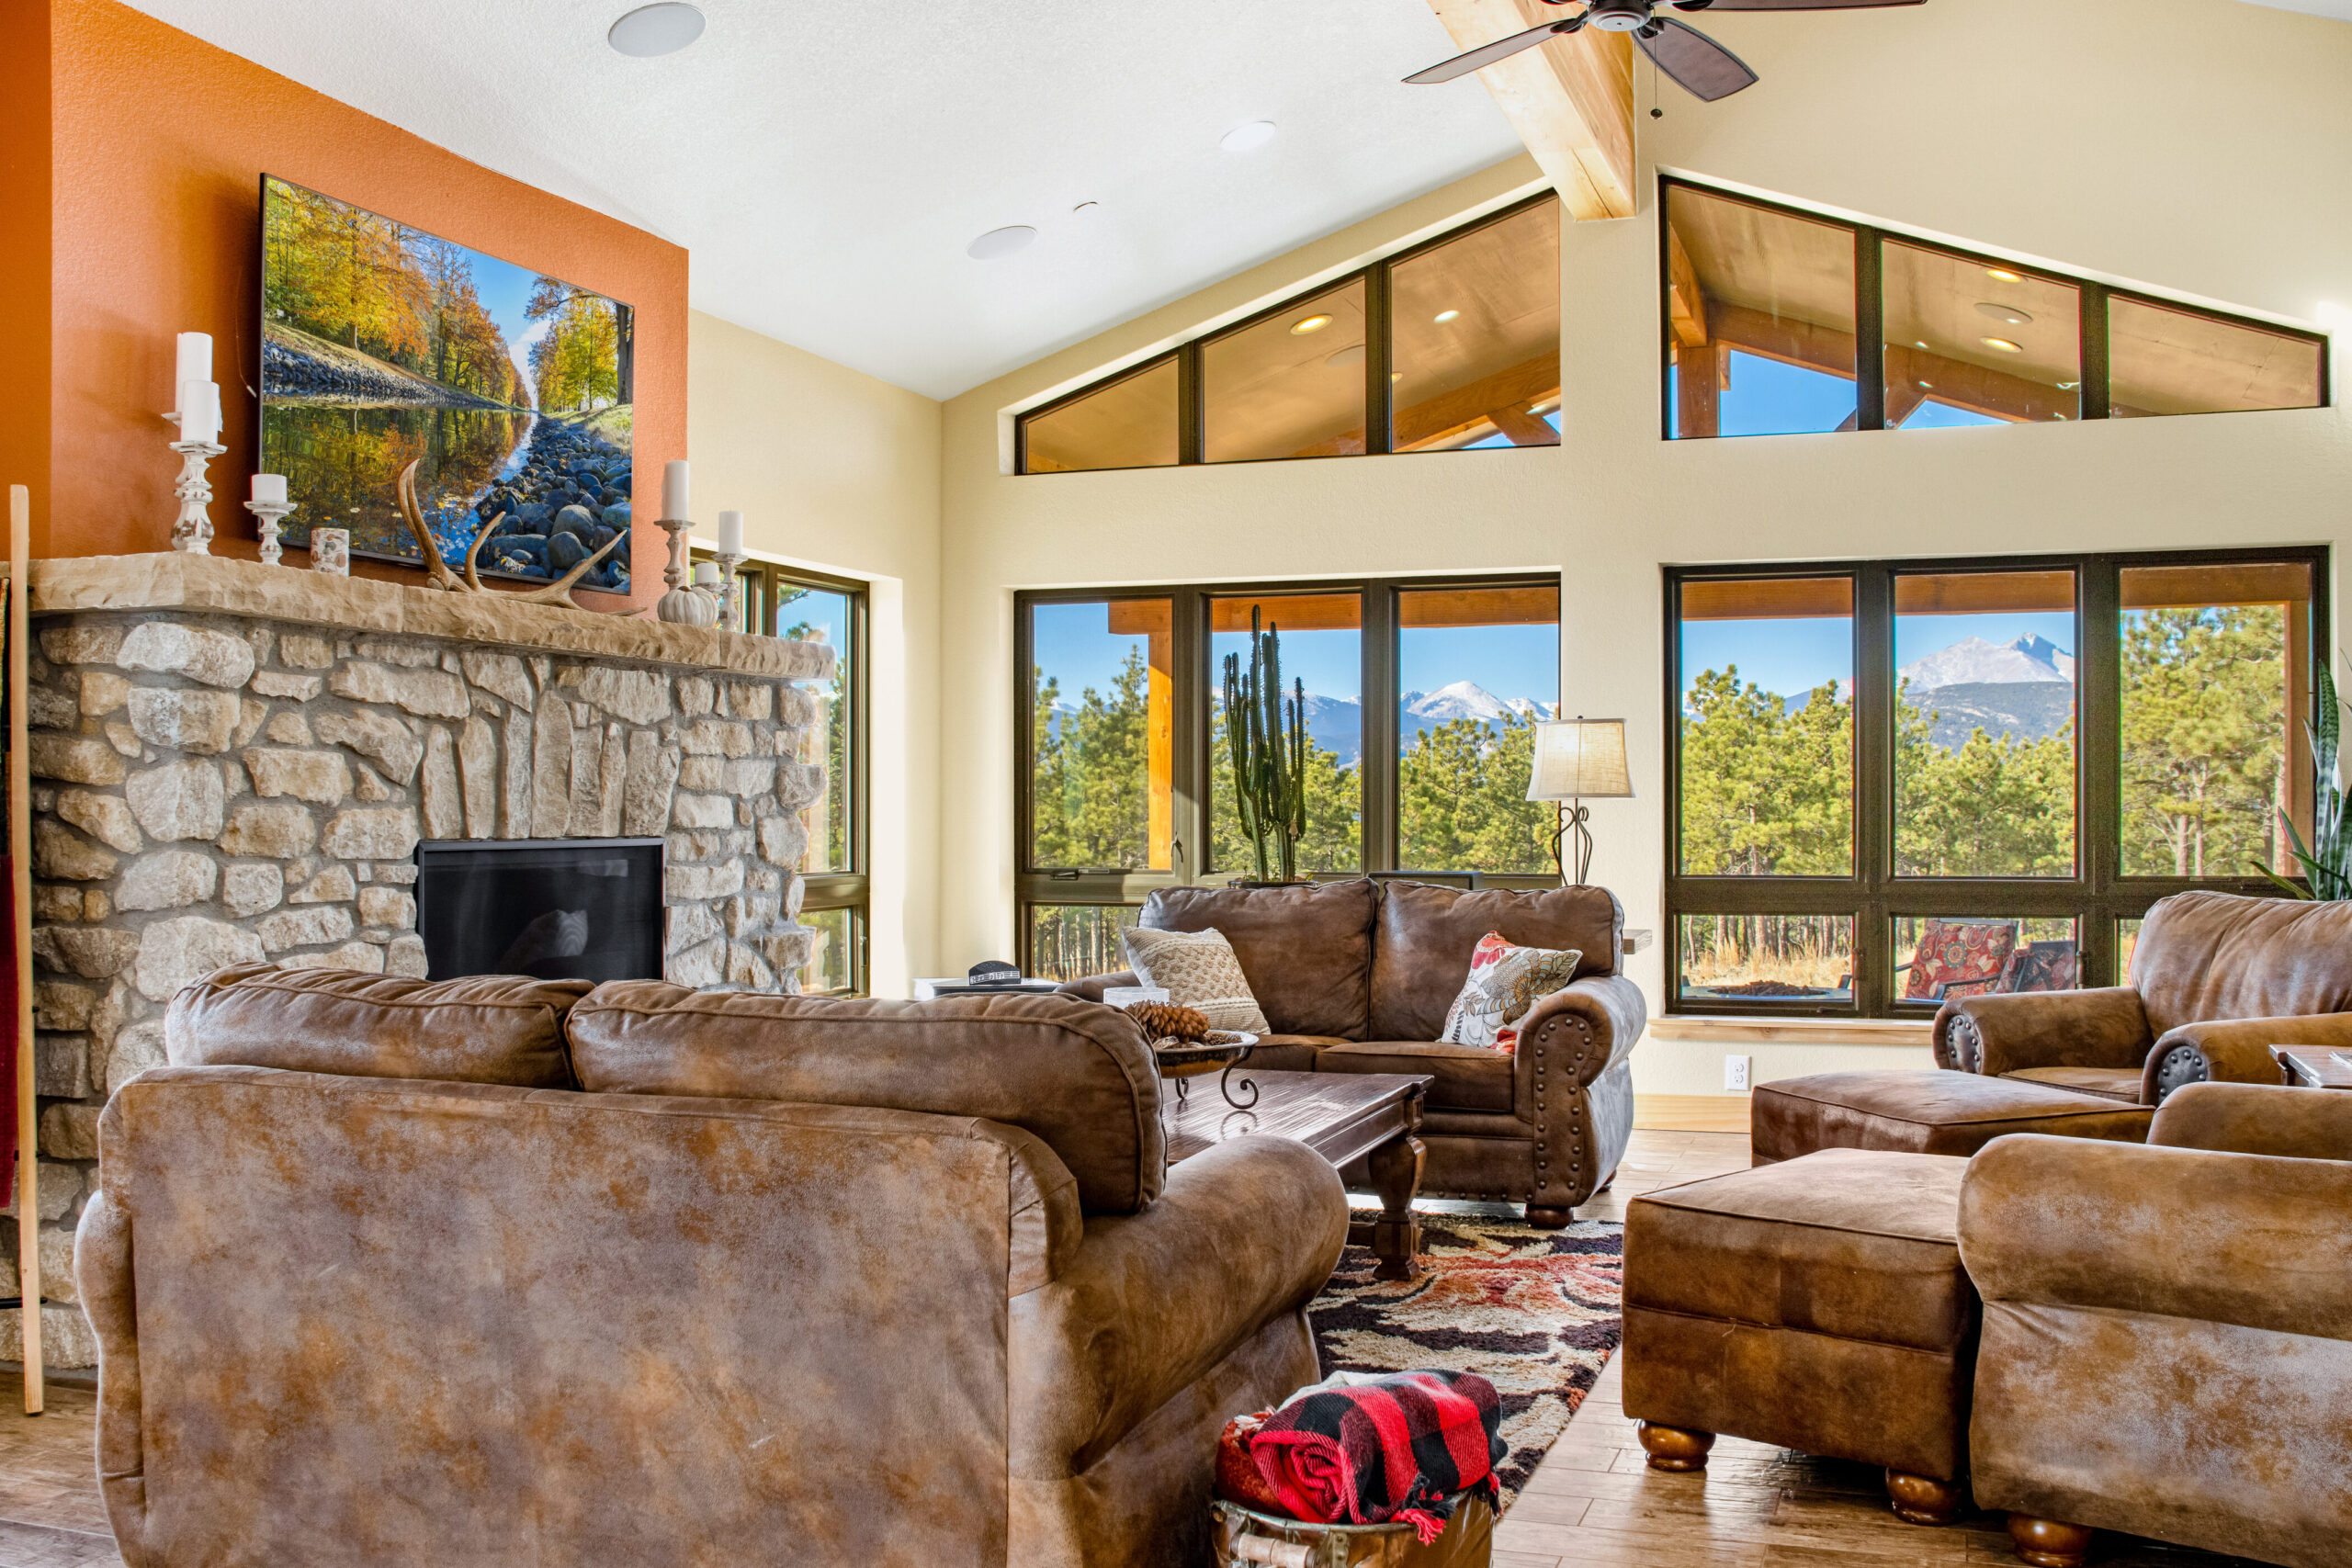
Now you have solved the issue of how to make a dark room look bright. But one common problem remains. What about the views? Especially on a sunny day, it may be much, much brighter outside than it is inside the space you are working in. Many professional photographers may use an off-camera flash, or a soft light source like an umbrella to bounce fill light into the scene and add artificial brightness. If your interior space is as bright as your exterior views, problem solved… right? These methods can, and often do, work great. However, the amount if flash, angle of the flash, number of different lights, etc., can create an entirely new set of challenges. This creates additional light that artificially brightens some areas and adds unwanted shadows to others. While artificially lighting the space is a viable solution, it is a time-consuming one. For real estate photography, we believe that the best way to properly expose both the dark interior space, and the bright interior views is by using a bracketing technique, otherwise known as HDR (High Dynamic Range) Photography.
Bracketing may sound like an intimidating photography technique. However, it is actually a relatively straightforward process with a just few steps involved. Simply put, you will be taking multiple photos (Usually 3 or 5) for each individual angle. All settings will be identical, other than the shutter speed. This will create a series of over-exposed, properly exposed and under-exposed versions of the same image. You will then combine these images using software, to create your single, final image. (More on that later). This is an extremely efficient way to make sure you have enough light to effectively showcase your interior space without involving any artificial light sources. Thus, no artificial shadows! You could manually take these multiple exposures, but, pro tip: Almost all modern cameras have an AEB, or auto-exposure bracketing setting. Using this tool (We typically set ours at 3 brackets, two stops apart), this process is completely automated with one press of the shutter button. This will result in a series of images that are exposed properly for the brightest exterior view, even through a large window, as well as the darkest deep shadows. Once you have your bracketing set up, this takes no longer than it would to take a single exposure.
The good news now is, you’ve completed your indoor photos quickly and efficiently. Now you have sets of 3 or 5 Raw files that will eventually be combined to create your final image. It’s time to pick some software to help you accomplish this. One note before we get into this section. Many cameras and phones will include an in-camera HDR feature. This will automate the merging process as well. If you are short on time or want to save as much money as possible, these are options that you could consider. However, in our opinion, if your goal is to create the best possible image, you are likely to see a higher quality result by using specific HDR photography software. For anyone who uses Adobe software, both Photoshop and Lightroom include HDR Merging tools. Both programs include advanced, in-depth features and settings. For the highest quality results, these are both great options. While these programs include some batch merging options intended to apply settings to multiple sets of Raw files, you may still find that the process of merging multiple sets using these programs is simply too time consuming. Especially for real estate photographers, or other industries that commonly rely on high-volume, quick-turnover photo shoots, you may find yourself looking for a speedier or more efficient HDR merging process. A couple popular options are HDR Merge/Luminar Neo, which is an all-in-one HDR merging and photo editing software package, or Photomatix Pro, which is an advanced HDR Merging program that will create combined files out of your Raw images that will be available to edit within other photo editing software (Lightroom, Photoshop, etc..). At Real Estate Photo Pros, we have experimented with many different HDR merging options, but have used Photomatix Pro the most frequently over the years. What we would recommend most about this program is the efficiency. There are two main options within this program: Single image merging or batch merging. You can import your set of 3 or 5 Raw images and experiment with the full array of settings and options. You can control the color, contrast, realism, painterly qualities, tones and saturations of your final images with multiple sliders. Once you have found a formula that creates a final image with the look and feel that represents both the main subject and yourself as a photographer, you can name and save these settings as a preset. Once you have created a preset for that type of image (You might have various presets for sunny days, overcast days, dark interior spaces, bright interior spaces, etc.), you can apply that preset to your entire folder of images, or a specific list of files that you select. The program will automatically create a new folder of merged HDR images. During that time, you could be editing other images or pouring a cup of coffee! Either way, this is a good balance of image quality and efficiency.
If your primary goal is time saving and you’re willing to be flexible on the total cost, there are hundreds, perhaps thousands, of HDR editing services around the world that are available to provide this service. This could range from basic HDR Merging for less than $1 per image, to comprehensive professional editing for anywhere from $1-3 per image. These services can also offer virtual staging, virtual sky replacements, virtual twilight lighting and many other time-saving additions to your service list, depending on what you are willing to spend. Or what you are willing to charge for your services.
Here are a few, brief notes that could help you avoid any harsh shadows in your real estate photos. It may be a good idea to have someone in your local office manually take a look at all of your merged images. Especially if you are taking advantage of an outsourcing solution. In our experience, many of these images may have a consistent issue that could be improved with a quick adjustment. For example, if the interior space you were photographing was particularly dark, the editing service may overcompensate by artificially over-brightening the final images. The result could be images that are appealing, since the space looks brighter and more inviting than it may have in reality. But it also may appear ‘washed-out’ or lacking enough contrast. A simple preset in an editing program like Lightroom, which applies increased contrast or black tones, could be applied and instantly improve the entire set of images. It’s a good idea to have a few simple presets like these handy, and to be sure to take a look through your final images in case these quick adjustments could be applied. It is amazing what something as simple as deeper black tones can do to add depth to an image before sending it off to the client.
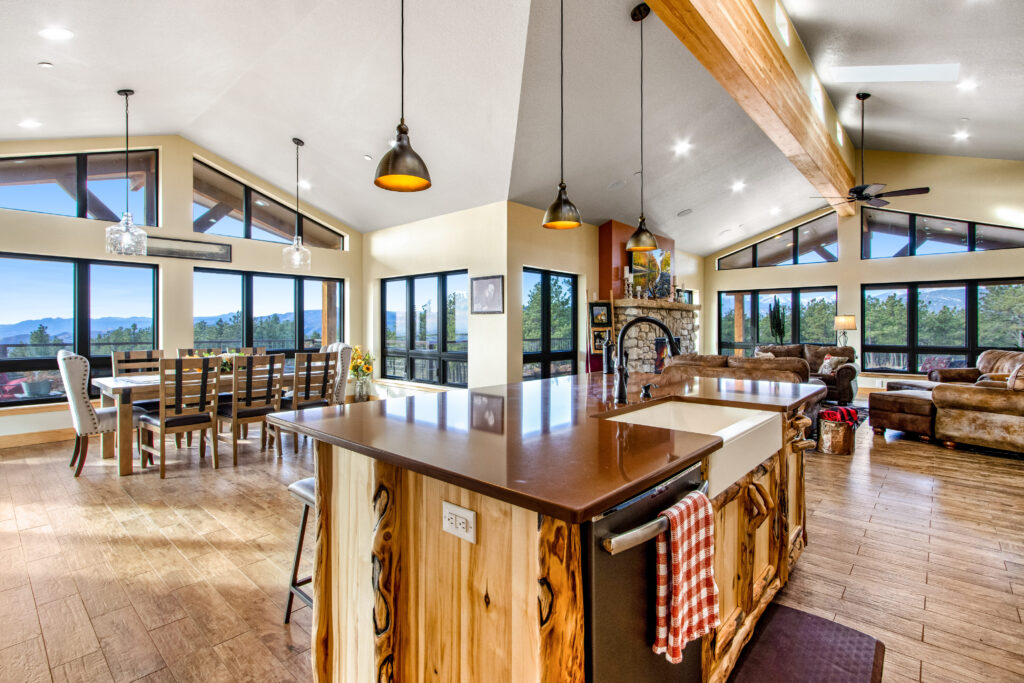
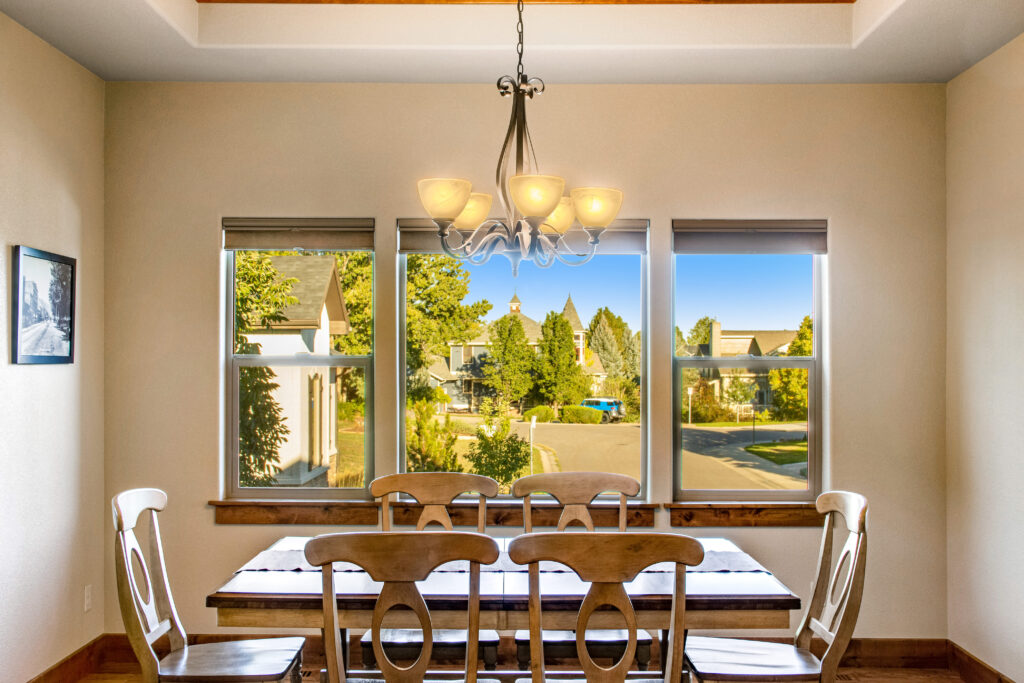
If you find that, after all of the HDR merging and custom editing is applied, you are still struggling to clearly see the views outside of an interior space, there are still a few variables that could be addresses for future projects. First, consider the time of day that the next photo shoot is scheduled for. Simply put, the brightest and harshest exterior lighting conditions will occur around mid-day, when the sun is highest in the sky. By moving the photo shoot to either morning or late afternoon hours, you will reduce the total contrast between your interior and exterior lighting conditions. You’ll also appreciate the warmer colors that are often present during these timeframes. You can also take advantage of the increased interest created by the ‘more positive’ shadows in your exterior scene, since the sun is shining from a lower angle. Be sure that if you have any particularly beautiful or interesting views in a specific direction (Such as mountains to the west, or the ocean to the east), the photos are scheduled at a time when the sun will not be shining directly into those windows. If you have a huge picture window looking out to a mountain range to the west of the home, schedule your photos in the morning, when the sun will be shining onto those mountains, not from behind them. Vice versa if your view it to the east. Shoot in the afternoon, when the sun is shining from the west, onto your view to the east. This will create a much smaller problem to overcome, when it comes to the overall contrast between your interior space and your exterior views.
I’ll address one final option, for those of you who are concerned about the cost of professional editing services, and also do not have the time to shoot, merge and edit HDR images in order to avoid shadows. You could take advantage of professional editing services without a professional camera, and without taking multiple exposures. Download Real Estate Photo Pros’ You Cell It app, or visit www.youcellit.com. Using this app, you will be able to take photos with your cell phone camera, upload them to our professional editing team from within that app, and receive edited photos similar to what you might be able to achieve using an HDR photography method. This will take a fraction of the time involved in taking professional level photos, at a fraction of the cost of hiring a professional service.
Thanks for reading. If you’d like to learn more about our team, check out the About Us page HERE.
-Mike
View comments
+ Leave a comment